Layout Structure / Global Settings / Home View
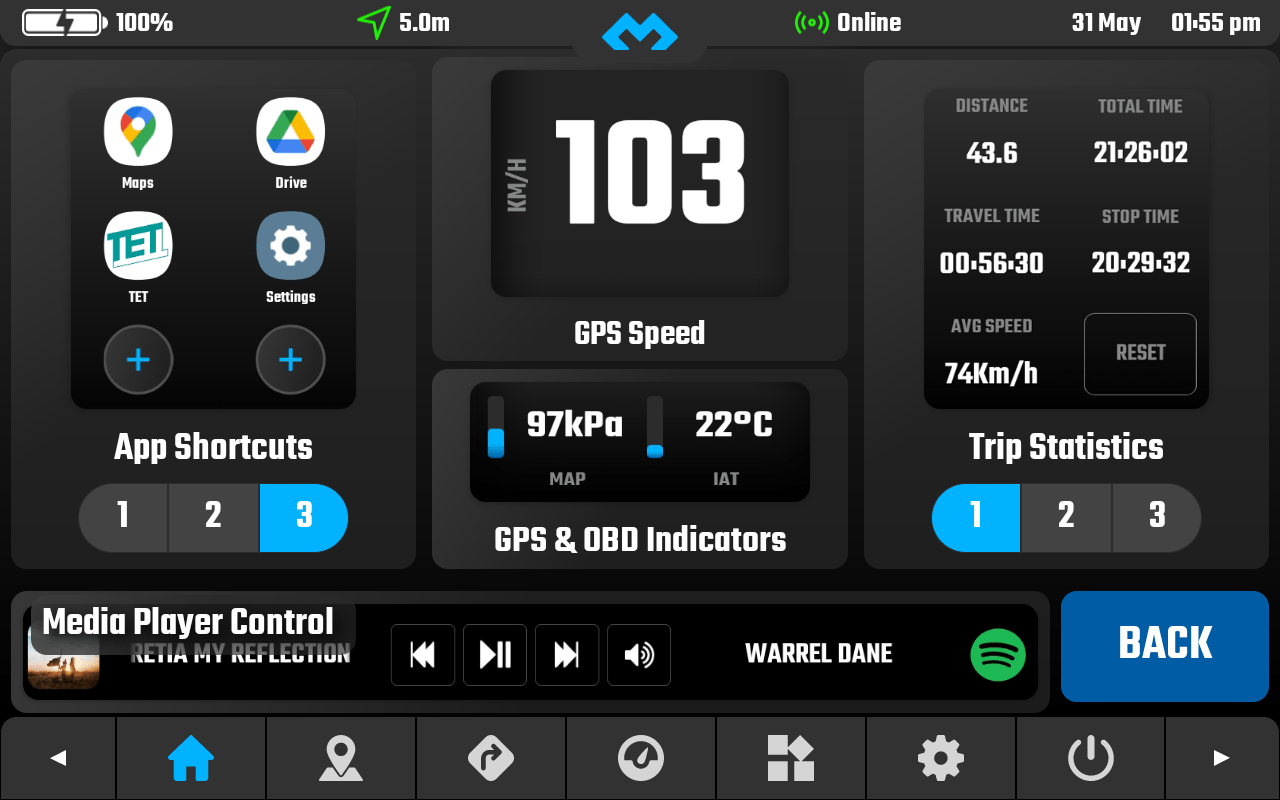
DMD2 is compromised by 3 main areas, the top status bar, the central active view and the bottom menu.
Learning these three terms will be important as you progress in the manual.
Tutorial #2 – Top Status bar, Global Settings and the Home Screen.
Top Status Bar
The top status bar shows simple indicators about the overall devices status. From the left to the right you have the battery indicator, the GPS precision, the online status and the date and time. They include icons and text and while the text shows the actual values the icons change color to help you quickly identify undesirable states.
Battery
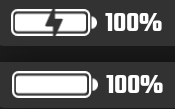
Shows you your current battery percentage and if it is charging (plugged to a power source) or not. Works just like the stock Android battery indicator.
GPS Precision
Shows the GPS precision in meters (lower the value the better), example: a 2 meter precision means that your current location can have an error of around 2m.
Online Status
Displays if you are currently connected to the internet (either by wifi, carrier data or hotspot). It monitors your connection status and updates accordingly.
Date and time
Current system date and time. You can change to 24h format in the global settings. Displays the values formatted with the device localisation settings.
Panel Types and Sizes
As you can see, different panels have different sizes, and this means that while some widgets can adapt to all sizes others are only available to certain panel sizes.
You should also notice that the LEFT and RIGHT panels are different from the others in a sense that each one of them can hold and cycle through 3 different loaded widgets.
Left And Right Panels
You can cycle through the 3 loaded widgets using the top arrows or using your controller.
You can view the current position by looking at the bottom indicator (the 3 dots in the bottom of each panel).
Left and Right in your controller will cycle the left panel.
Up and Down in your controller will cycle the right panel.
Notice: Only the Left and Right panels can be interacted with a remote controller, not only cycle the widgets but also perform widget actions if available.
Configuring Widgets
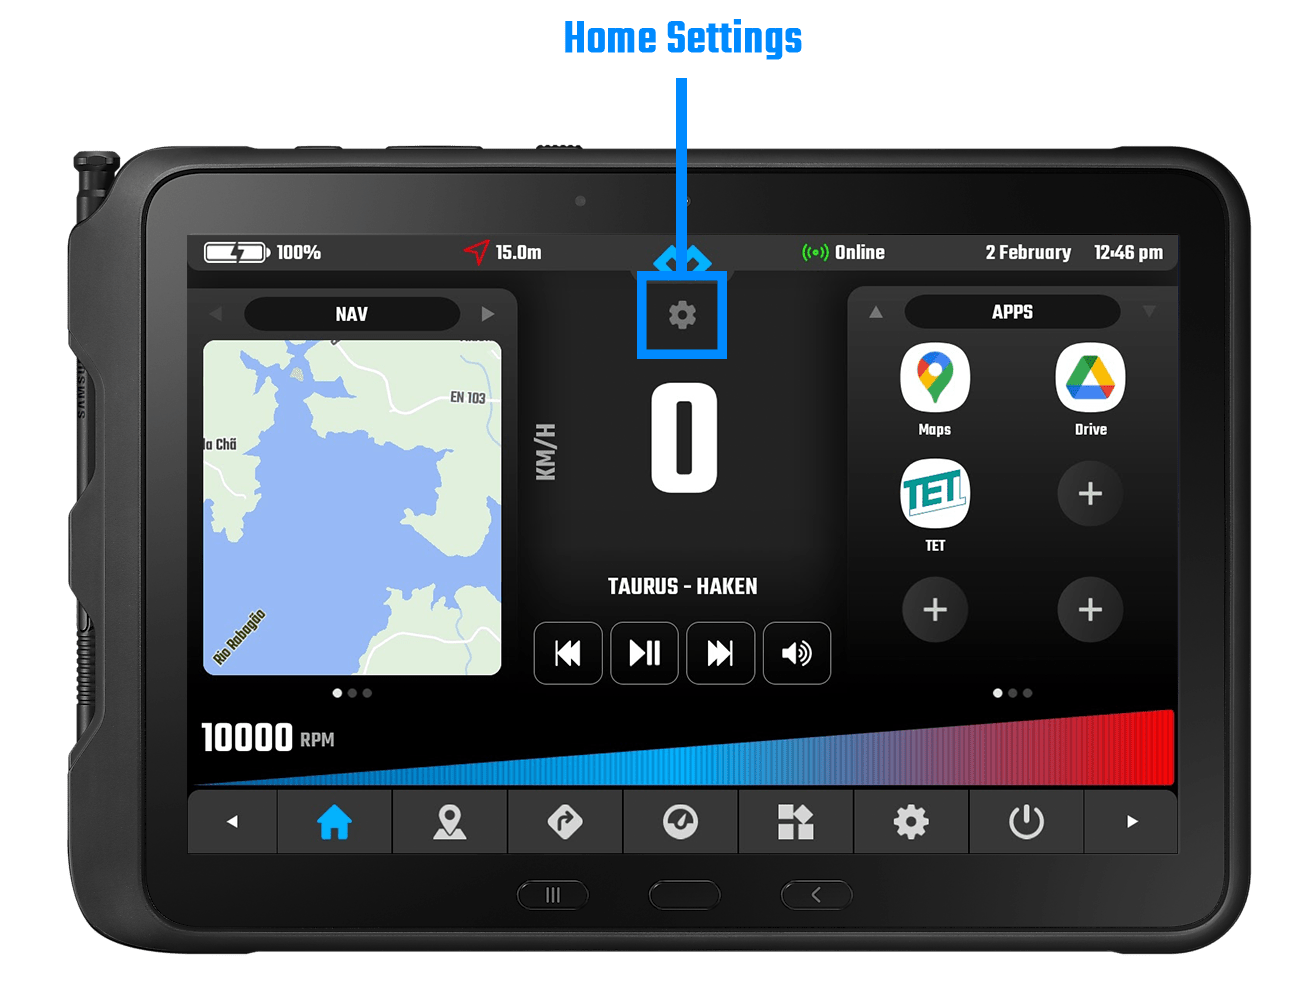
To select each widget in the Home View you need to use the settings button.
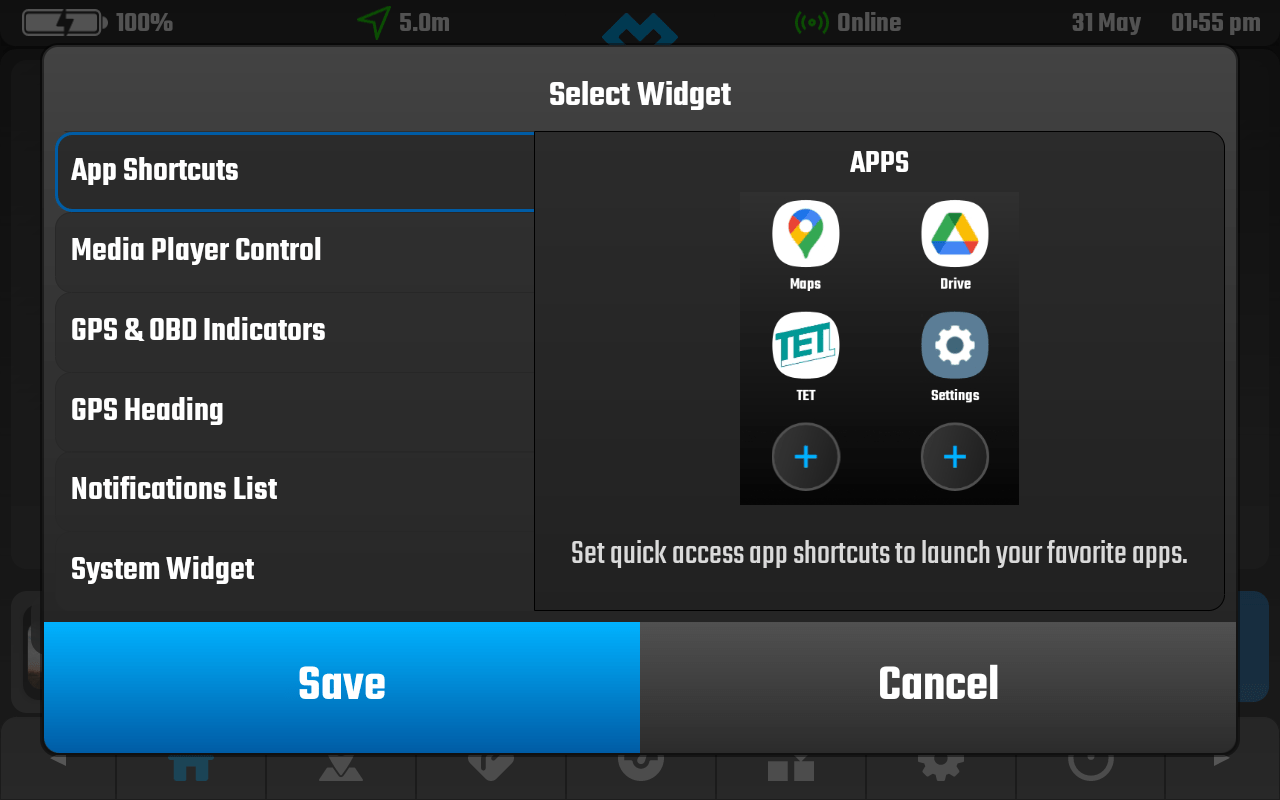
After clicking the home settings button you will see this Widget Manager interface where you can click on each section to trigger the widget selector dialog.
For each section you can select from a list of widgets, this list is always growing and we will keep adding new widgets.
In the video:
In this video we randomly select different widgets for different positions, notice the different available widgets for each of the home panels.
Some widgets required further setup, for example the apps shortcuts requires you to select the apps you want to add to it. Same thing for Sensors widgets where you have to select each sensor for the available slots.
Some widgets also include actions, for example the Trip Information widget will include a “Reset” button to reset the Trip.


